Fix: Cannot run upgrade script on host, ESXi 5.5 

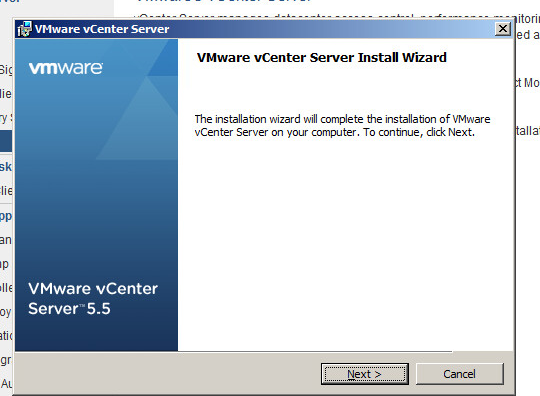
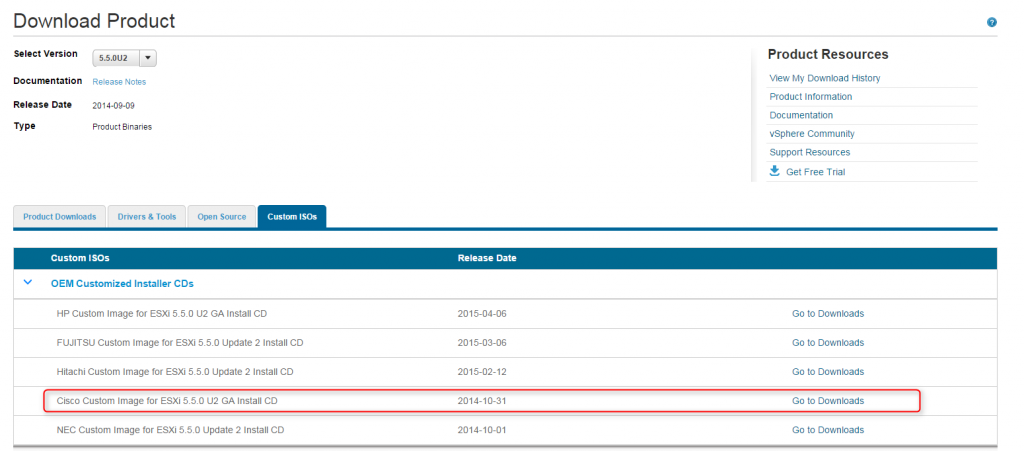
During a recent upgrade I found that one of the ESXi hosts just would not update using Update Manager. The error I was seeing was “Cannot run upgrade script on host”.

After a bit of searching I found this article which related to ESXi 5.1 upgrade to 5.5 but the steps worked well to fix the issue I was seeing.

In order to fix the issue I performed the following steps:

Step 1: Disable HA for the cluster

Disable Cluster HA

Step 2: Go to vCenter Networking. Select the distributed vswitch and then select the hosts tab. From here, right-click on the host you need to reboot and select Remove from vSphere Distributed Switch

Remove Distributed Switch

Click Yes to remove the host from the switch.

Confirm vDS Removal

Step 3: Remove the host from the cluster

Remove ESXi host from cluster

Step 4: Enter the host into maintenance mode and then choose to reboot.

Enter Maintenance Mode
Step 5: Connect via SSH to the ESXi host and run the following commands to uninstall the FDM agent:

>
cp /opt/vmware/uninstallers/VMware-fdm-uninstall.sh /tmp
chmod +x /tmp/VMware-fdm-uninstall.sh
/tmp/VMware-fdm-uninstall.sh
>

SSH Host FDM Uninstaller
Step 6: Reboot the host

Reboot the host
Step 7: Add the ESXi host back to the cluster

rejoin host to cluster step 1

rejoin host to cluster step 2

rejoin host to cluster step 3

rejoin host to cluster step 4
Step 8: Re-add the host to the Distributed vSwitch. Go to Networking -> select the distributed vswitch. Right-click and select Manage Hosts.

Manage vDS

Select the host

Select Host

Select vnics for Uplinks to be managed by the switch

Manage vDS uplinks

Step 9: Turn vSphere HA back on for the cluster the host resides on.

Turn on vSphere HA

Step 10: Run the upgrade again from Update Manager and this time it will work.

post

How To: Upgrade to ESXi 5.5 Update 3b on Cisco UCS

ESXi upgrade preparation

With Cisco UCS you really need to make sure that your ESXi hosts are running the correct driver version. If you’re running NFS or FCoE storage into your ESXi hosts as either datastores or RDM disks then it’s critical that you have the right fnic and enic drivers. Even if you use the Cisco Custom image for ESXi upgrades the enic and fnic drivers may not be correct according to the compatibility matrix. I’ve had this issue in the past and I saw intermittent NFS datastores going offline for a Dev ESXi host and the resolution was to upgrade the enic driver which handles ethernet storage connectivity.

The best place to go is to VMware’s compatibility site for IO drivers which comes under the System/Servers. To find out which drivers you currently have you will need to check on the driver versions on the ESXi hosts. This can be done by following KB1027206. Using the values for the Vendor ID, Device ID, Sub-Vendor ID and Sub-Device ID it’s possible to pinpoint the interoperability with your respective hardware. In my case I have both VIC1340 and VIC1240 in the mix so I had to go through the process twice. Primarily you’ll be using the ‘ethtool -i’ command to find the driver version.

enic_driver_check_vmware_kb_steps
e.g. You can check the UCS VIC 1240 for FCoE CNAs on ESXi 5.5 Update 3 here

In this image you can see the version of enic drivers I’m running, 2.1.2.71 doesn’t match the firmware version that will be installed as part of the Cisco Custom ISO image. This shows that the enic driver version will need to be upgraded as part of the process.

enic_driver_check_vmware

Read More

post

Fix: vCenter failure to upgrade – unable to configure log browser windows service

During a recent upgrade from vCenter Server 5.5 Update 2d to vCenter Server 5.5 Update 3b it kept failing at the web client upgrade. After successfully upgrading Single-Sign On I proceeded with the upgrade of vSphere Web Client. I got the following error during the installation:

Error 29702 unable to configure log browser windows service please check vminst.log in system temporary folder for details

The update to 5.5 3b caused disk capacity to fill up and make the installation process unable to finish the upgrade. The SSO install worked but the WebClient fails with error 29702. The primary issue was that over 40GB of space on C drive was taken up with SSO upgrade. I searched for fixes and found the following link but before carrying out the task of removing the Java Components and re-installing again I wanted to check with support on the procedure.

The steps I followed to fix the issue were:

Step 1: Go to Control Panel, select VMware vCenter Server – Java Components and select uninstall

vmware java component unistall

Step 2: Click ok to confirm the uninstall

vmware java component unistall step 2

Step 3: Click Yes to confirm reboot

java component uninstall step 3

Step 4: Following the reboot you can then begin the upgrade process once again and this time it will succeeed. Run the vCenter installer and from Custom Install select vCenter Single Sign-On. Click Next.

vcenter upgrade step 1

Step 5: Click Install

vcenter upgrade step 3

Step 6: The single sign-on components will begin to install, including components such as OpenSSL

vcenter upgrade step 3

One of the key components being installed is VMware JRE.

vcenter upgrade step 4 vmware JRE

Step 7: If you get prompted to close some applications select “Close the applications and attempt to restart them”. Click Ok.

vcenter upgrade step 5

Click ok to the prompt to close apps automatically

vcenter upgrade step 6

Step 8: Click Finish to complete the Single Sign-On upgrade

vcenter upgrade step 7

Step 9: Click on vCenter Web Client to begin the next stage of the upgrade

vmware upgrade step 8

Step 10: Click Yes to continue

vmware upgrade step 9

Step 11: Click Accept License agreement and click Next

vmware license agreement

Step 12: Click Install to begin the web client installation

vsphere web client install

Step 13: Click Finish to complete the installation

vsphere web client installation completion

Once you click Finish click Ok on the dialog to advise that the services will take a few minutes to restart

vsphere web client installation completion 1

Step 14: Select vCenter Inventory Service and click Install

vcenter inventory service upgrade step 1

Step 15: Click Yes for Inventory Service install

vcenter inventory service upgrade step 2

Step 16: Click Next to continue the installation process

vcenter inventory service upgrade step 3

Step 17: Click Accept License agreement and click Next

vcenter inventory service upgrade step 4

Step 18: Click Install for inventory service

vcenter inventory service upgrade step 5

Step 19: Click Finish on completion

vcenter inventory service upgrade step 6

Step 20: Install vCenter Server

vcenter server upgrade step 1

Step 21: Click Ok to continue

vcenter server upgrade step 2

Step 22: Click Next to continue

vcenter server upgrade step 3

Step 23: Click to accept the license and click Next

vcenter server upgrade step 4

Step 24: Enter the database user login credentials, VC_User

vcenter server upgrade step 5

Step 25: Click Install at the Customer Experience Improvement Program

vcenter server upgrade step 6

Step 26: Click Finish to complete the installation

vcenter inventory service upgrade step 6

post

VMware Metro Storage Cluster Overview

VMware Metro Storage Cluster

VMware Metro Storage Cluster (vMSC) allows vCenter to stretch across two data centers in geographically dispersed locations. In normal circumstances, in vSphere 5.5 and below at least, vCenter would be deployed in Link-Mode so two vCenters can be managed as one. However, with vMSC it’s possible to have one vCenter manage all resources across two sites and leverage the underlying stretch storage and networking infrastructures. I’ve done previous blogs on NetApp MetroCluster to describe how a stretched storage cluster is spread across two disparate data centers. I’d also recommend reading a previous post done on vMSC by Paul Meehan over on www.virtualizationsoftware.com. The idea behind this post is to provide the VMware view for the MetroCluster posts and to give a better idea on how MetroCluster storage links into virtualization environments.

The main benefit of a stretched cluster is that it enables workload and resource balancing across datacenters. This helps companies to reach almost zero RTO and RPOs and ensure uptime of critical systems as workloads can be migrated easing using vMotion and Storage vMotion. One thing to keep in mind regarding vMSC, it’s not really sold as a disaster recover solution but rather a disaster avoidance solution when linked with the underlying storage. Some of the other benefits of a stretched cluster are:

  • Workload mobility
  • Cross-site automated load balancing
  • Enhanced downtime avoidance
  • Disaster avoidance
  • System uptime and high availability

There are a number of storage vendors that provide the back-end storage required for a vMSC to work. I won’t go into the entire list but you can find out more on the VMware Compatibility Matrix site. The one that I have experience with is NetApp MetroCluster but I know of others from EMC and Hitachi at least. So what components make up a vMSC? It comes down to an extended layer 2 network across data centers so that vMotions can take place with ease and also a resilient storage platform connected to ESXi via VMFS or NFS datastores. VMware vCenter itself does need some configuration changes but it’s nothing outside the scope of what a regular VMware admin can implement. A view of what a vMSC looks like is below. The networking and storage components have been simplified.

fabric metro cluster diagram


Read More

post

How To: VMware vCenter 5.0 to 5.5 Update 2 Upgrade – Part 6

Other posts in this series:

Step 20:  Upgrade the ESXi hosts using Update Manager

20.1: The first step to carry out is to create a new baseline with the ESXi image. To do this go to Update Manager from the home page on the vSphere client

vCenter Upgrade Update Manager

20.2: Click on the ESXi Images tab as you’ll need to upload the image before configuring a new baseline. Select Import ESXi image

Update Manager Import ISO Image

20.3: Select the ESXi image that was downloaded earlier and click Next
Update Manager Import ISO Image Select Image Read More

post

How To: VMware vCenter 5.0 to 5.5 Update 2 Upgrade – Part 5

Other posts in this series:

Step 19: Post Installation tasks

Issue 1 – SSO access for admins

19.1: Give permissions to admin users for access to SSO. Log into the web client as the administrator account.

vSphere Web Client

19.2: Select Administration and then expand Single Sign-On. Select Users and Groups and select the groups tab. From here you can select Administrators

vSphere Web Client SSO Setup

19.3: Select Add member

vSphere Web Client SSO Add Member

19.4: Select the required domain from the drop down menu

vSphere Web Client SSO Add Group Read More

post

How To: VMware vCenter 5.0 to 5.5 Update 2 Upgrade – Part 4

Other posts in this series:

Step 13 : Upgrade SRM

13.1: Upgrade the SRM server software first and once that has been completed update the SRA. Select the SRM software and run it.

Update SRM 5.5

13.2: Click Ok on the language settings

Update SRM 5.5 Step 2

Update SRM 5.5 Step 3 Update SRM 5.5 Step 4

13.4: Go to C:WindowsSysWOW64 and run odbcad32 and check which server and database the connector is directed to. You can then run the normal 64bit ODBC from Administrative Tasks and add a new connection under System DSN

Click next to continue

Update SRM 5.5 Step 5

13.5: Click Next

Update SRM 5.5 Step 6 Read More

How To: VMware vCenter 5.0 to 5.5 Update 2 Upgrade – Part 3

Other posts in this series:

 Step 10:  Upgrade vCenter Inventory Service on Primary

10.1: Select vCenter Inventory Service and click Install

vCenter Inventory Service installation

10.2: Leave the default language settings and click Ok

vCenter Inventory Service installation step 2

10.3: Click Next on the initial screen

vCenter Inventory Service installation Step 3

10.4: Accept the EULA and click Next

vCenter Inventory Service installation Step 4

10.5: Select to keep the existing data and click next

vCenter Inventory Service installation Step 5 Read More

post

How To: VMware vCenter 5.0 to 5.5 Update 2 Upgrade – Part 2

Other posts in this series:

Step 7 – Unlink vCenter Server

7.1: Go to Start -> Programs -> VMware -> vCenter Server Linked Mode Configuration

vCenter Upgrade Break Linked Mode

7.2: When the configurator opens click on Next

vCenter Upgrade Break Linked Mode Step 2

7.3: Select Modify linked mode configuration and click Next

vCenter Upgrade Break Linked Mode Step 3

7.4: Leave Isolate this vCenter Server instance from linked mode group selected and click Next

vCenter Upgrade Break Linked Mode Step 4

7.5: Click Continue to remove the server from linked-mode

vCenter Upgrade Break Linked Mode Step 5 vCenter Upgrade Break Linked Mode Step 5 part 2 Read More

post

How To: VMware vCenter 5.0 to 5.5 Update 2 Upgrade – Part 1

Following on from a previous bit of work I carried out to convert vCenter from a physical to virtual machine I then had to upgrade vCenter from 5.0 to 5.5 Update 2 to allow the drivers for Trend Micro Deep Security Manager to work on the ESXi hosts. A workaround was tried to just have the ESXi 5.5 filter drivers for Trend installed on the 5.0 hosts but it caused some PSODs on our Dev servers and VMware recommended performing an upgrade of the environment. It was on my to-do list for later in the year anyway so it was good to get the upgrade out of the way. I documented the steps for the upgrade and while once again I didn’t want to create a multi-part blog post the sheer number of steps dictated that it was a requirement. I’ve broken down the posts into a 6-part series covering the below areas:

Step 1 – Planning

1.1: Check Compatibility

The first thing you need to check is that all the components of your environment are compatible with the version of vSphere you want to upgrade to. The first step is this process is to gather the version details of all the installations and plug-ins that you have and use the VMware Compatibility Guide – http://www.vmware.com/resources/compatibility/search.php – to  verify that all the components listed are compatible or at least find out what versions of your products are compatible and seek out information on the upgrade process for each of those components. For example in the below matrix we will be upgrading SRM from 5.0.1 to 5.5.1 to be up to the latest version supported on vCenter 5.5 Update 2. Likewise for the IBM plug-ins and the SRA required for SRM.

Product Current Version Compatible Version
ESXi Host 5.0.0 5.5 Update 2
vCenter 5.0.0 5.5 Update 2
SRM 5.0.1 5.5.1
IBM SRA 2.1.0 2.2.0
Update Manager 5.0.0 5.5 Update 2
IBM TSM TDP 1.1 7.1
IBM Storage Mgmt Console 2.6.0 3.2.2 (supported on 5.5)

There is one other document to be aware of when it comes to planning for the upgrade and that is the upgrade sequence matrix so that you ensure that the correct products are updated at the correct times. This can be found here – http://kb.vmware.com/selfservice/microsites/search.do?language=en_US&cmd=displayKC&externalId=2057795

1.2: Download software vCenter 5.5.0 Update 2d

Go to the following website – https://my.vmware.com/group/vmware/details?productId=353&downloadGroup=VC55U2D

Select the relevant version of vCenter and click on Download Now

vCenter Upgrade Planning Step 1

From here you’ll be prompted to log into the my.vwmare.com account. Log in. Accept the EULA

vCenter Upgrade Planning Step 2

The download will begin. To get the Custom ISOs for Cisco blades for this version go to: https://my.vmware.com/group/vmware/details?downloadGroup=ESXI55U2&productId=353#custom_iso and click Go To Downloads Read More