During a recent upgrade from vCenter Server 5.5 Update 2d to vCenter Server 5.5 Update 3b it kept failing at the web client upgrade. After successfully upgrading Single-Sign On I proceeded with the upgrade of vSphere Web Client. I got the following error during the installation:
Error 29702 unable to configure log browser windows service please check vminst.log in system temporary folder for details
The update to 5.5 3b caused disk capacity to fill up and make the installation process unable to finish the upgrade. The SSO install worked but the WebClient fails with error 29702. The primary issue was that over 40GB of space on C drive was taken up with SSO upgrade. I searched for fixes and found the following link but before carrying out the task of removing the Java Components and re-installing again I wanted to check with support on the procedure.
The steps I followed to fix the issue were:
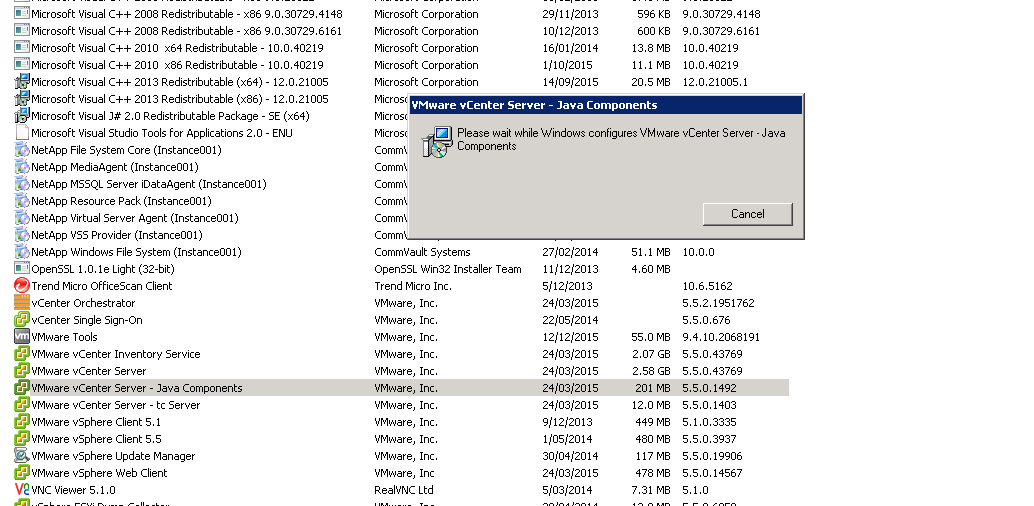
Step 1: Go to Control Panel, select VMware vCenter Server – Java Components and select uninstall
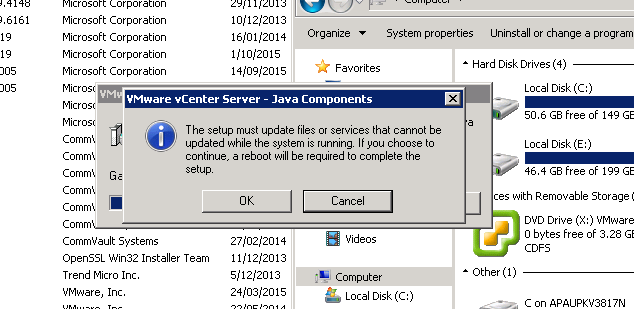
Step 2: Click ok to confirm the uninstall
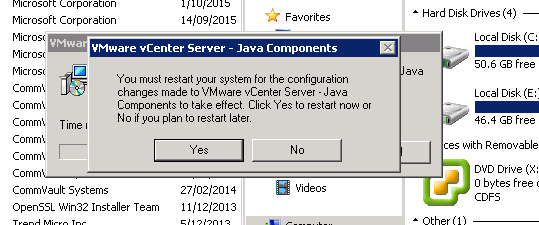
Step 3: Click Yes to confirm reboot
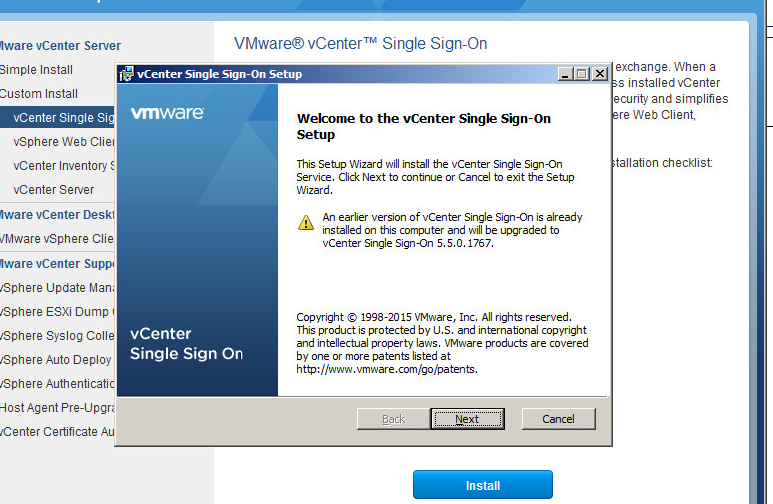
Step 4: Following the reboot you can then begin the upgrade process once again and this time it will succeeed. Run the vCenter installer and from Custom Install select vCenter Single Sign-On. Click Next.
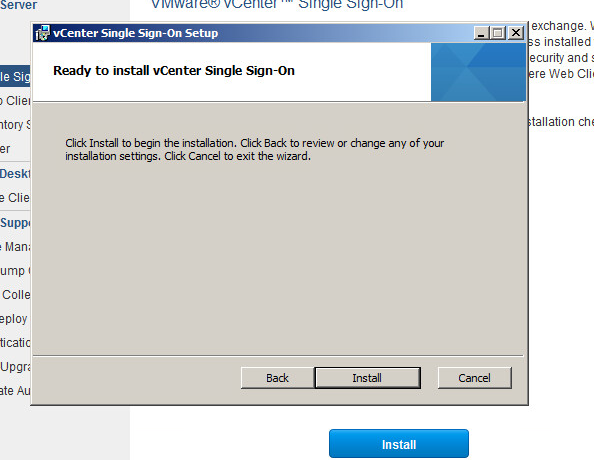
Step 5: Click Install
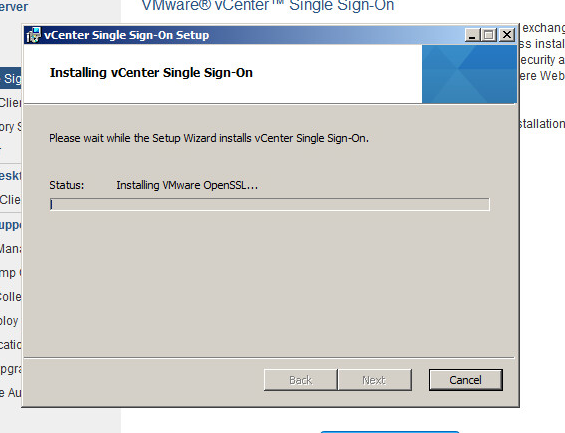
Step 6: The single sign-on components will begin to install, including components such as OpenSSL
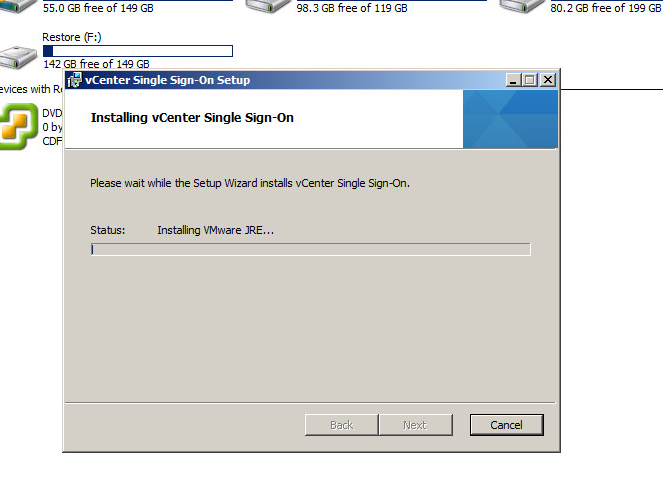
One of the key components being installed is VMware JRE.
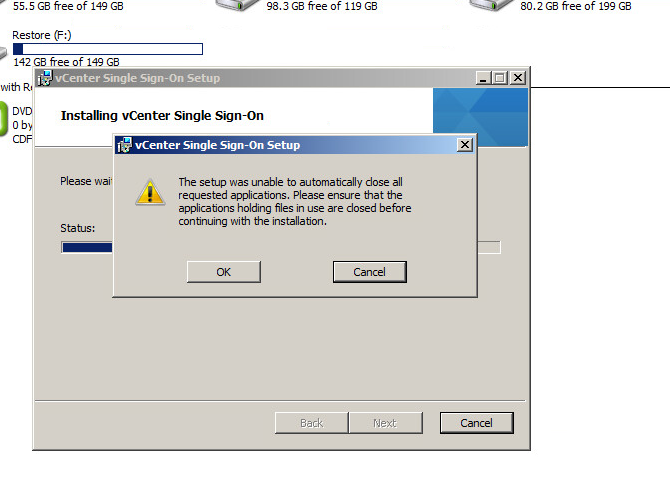
Step 7: If you get prompted to close some applications select “Close the applications and attempt to restart them”. Click Ok.
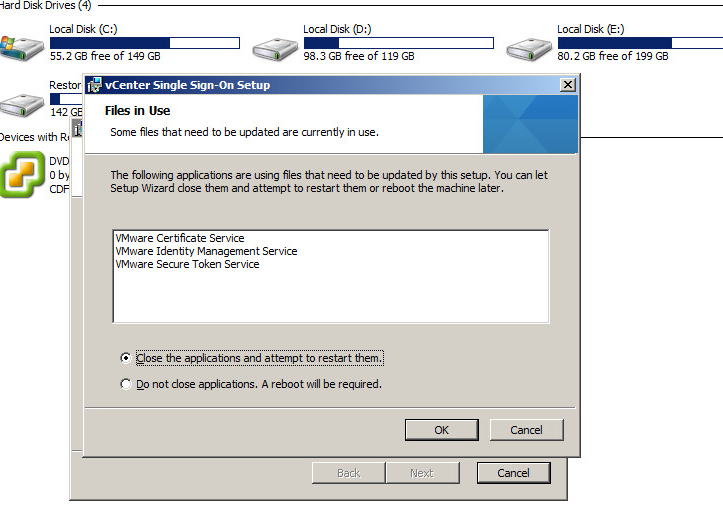
Click ok to the prompt to close apps automatically
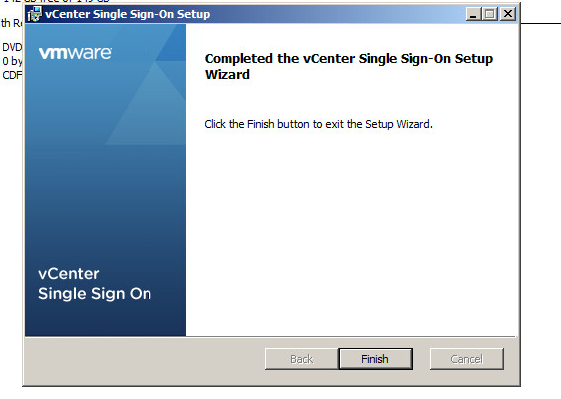
Step 8: Click Finish to complete the Single Sign-On upgrade
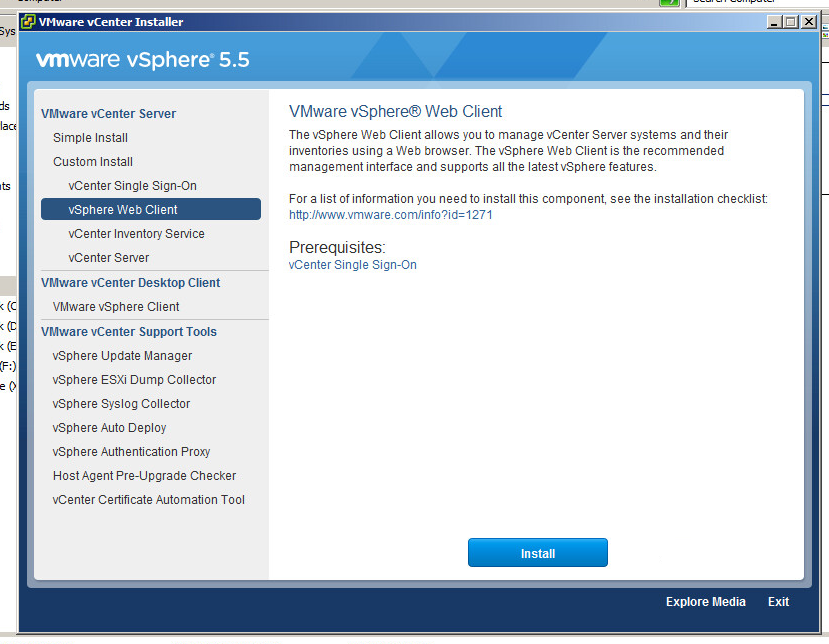
Step 9: Click on vCenter Web Client to begin the next stage of the upgrade
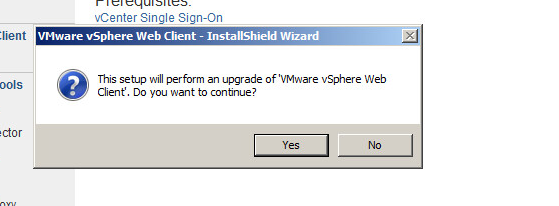
Step 10: Click Yes to continue
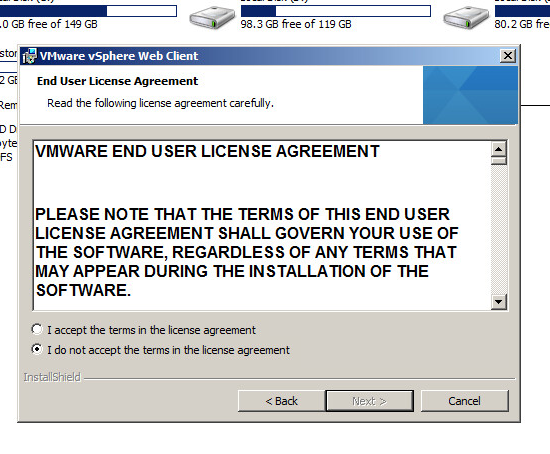
Step 11: Click Accept License agreement and click Next
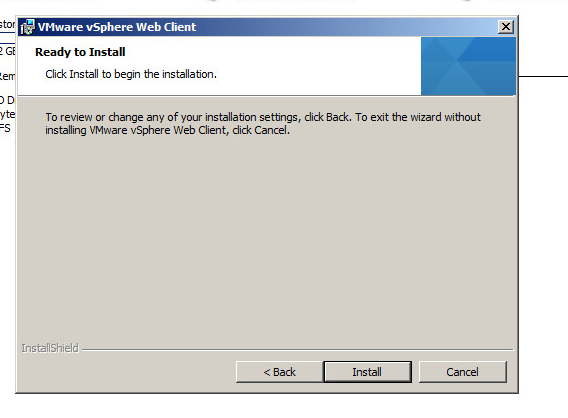
Step 12: Click Install to begin the web client installation
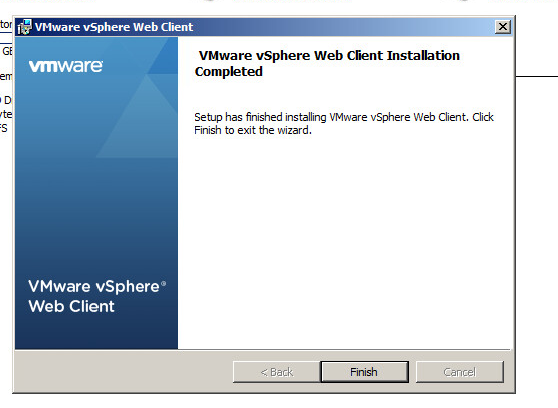
Step 13: Click Finish to complete the installation
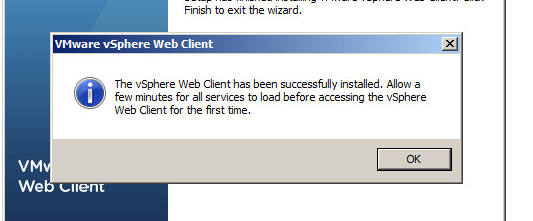
Once you click Finish click Ok on the dialog to advise that the services will take a few minutes to restart
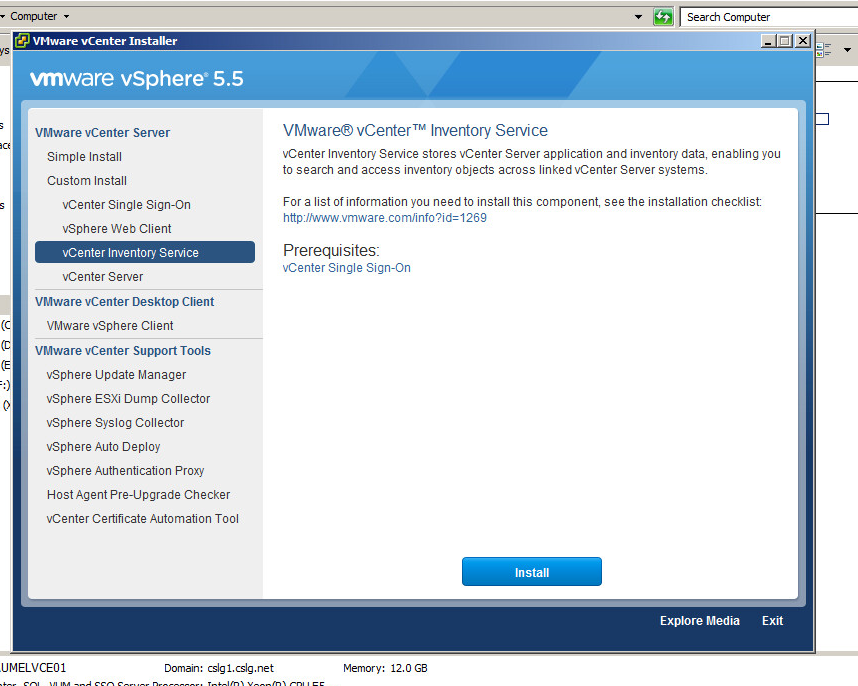
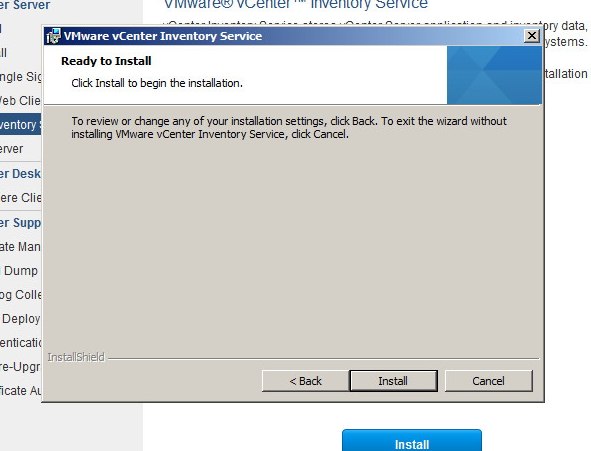
Step 14: Select vCenter Inventory Service and click Install
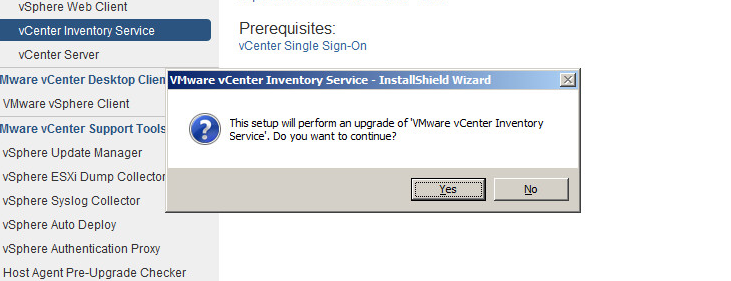
Step 15: Click Yes for Inventory Service install
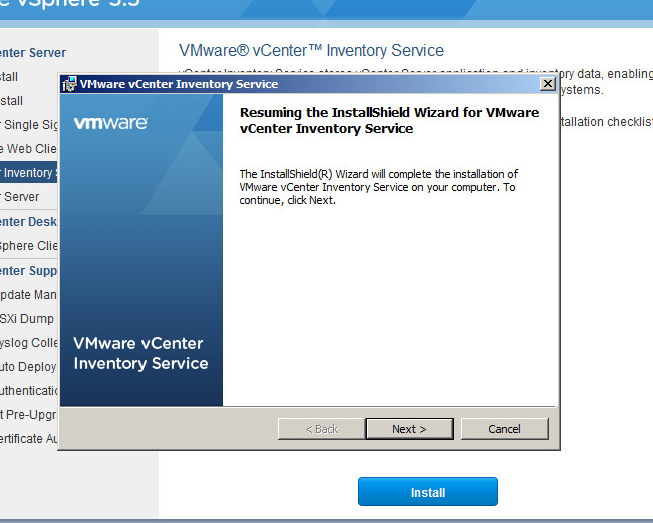
Step 16: Click Next to continue the installation process
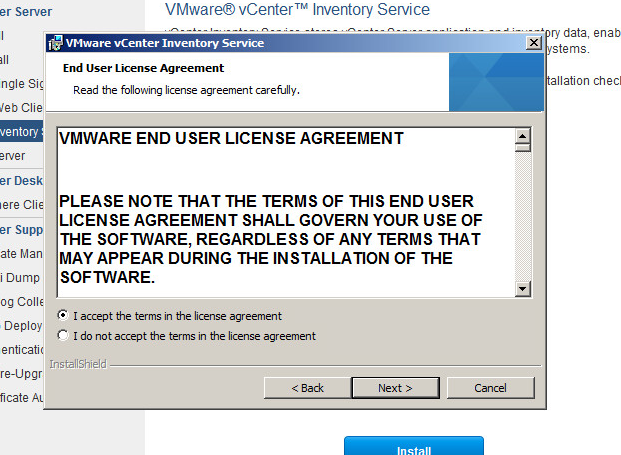
Step 17: Click Accept License agreement and click Next
Step 18: Click Install for inventory service
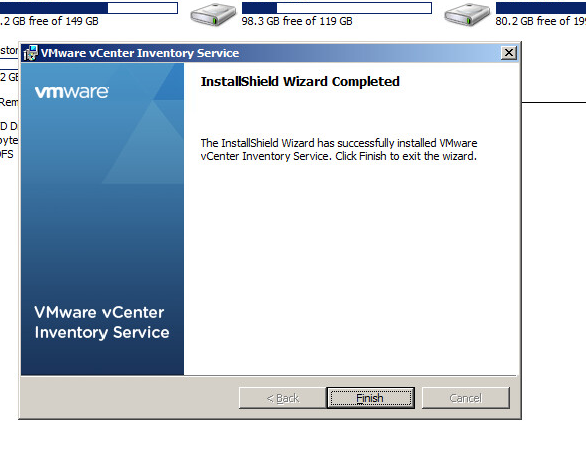
Step 19: Click Finish on completion
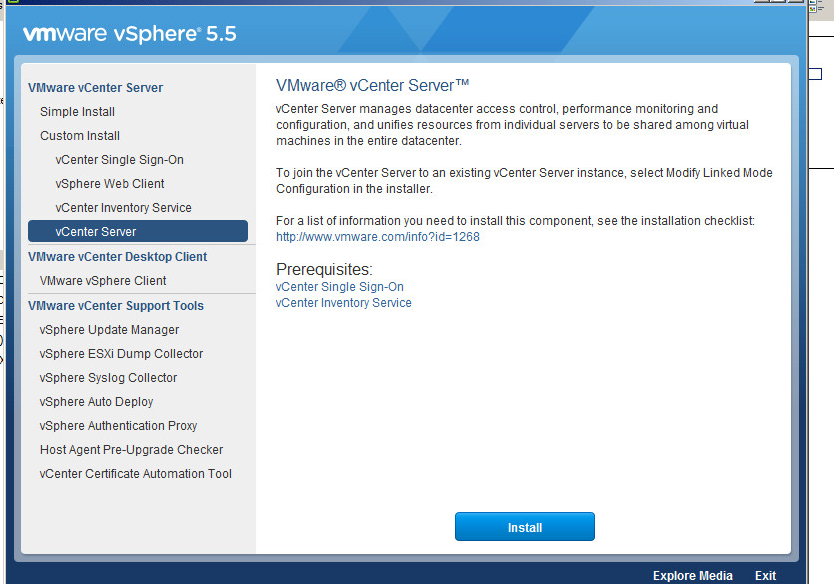
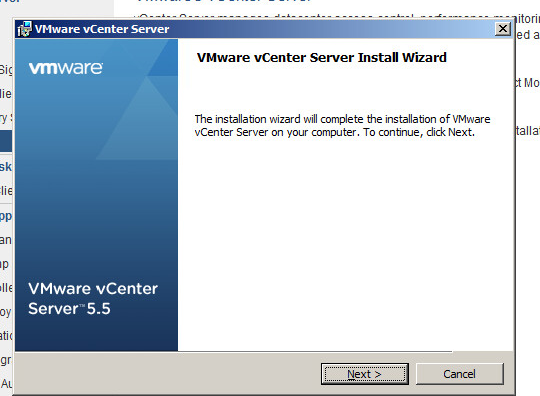
Step 20: Install vCenter Server
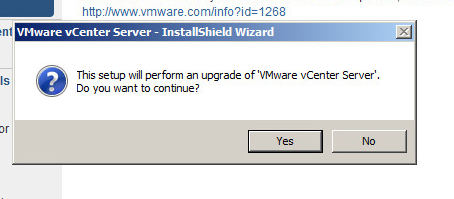
Step 21: Click Ok to continue
Step 22: Click Next to continue
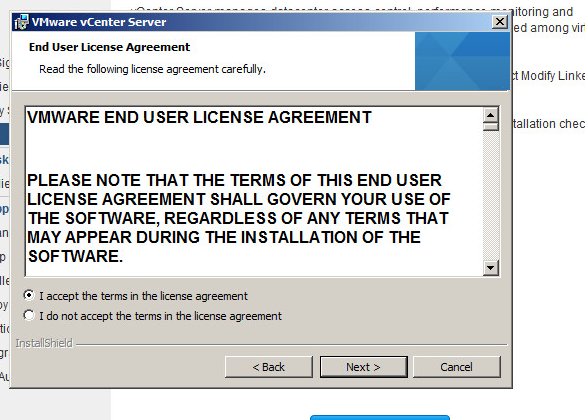
Step 23: Click to accept the license and click Next
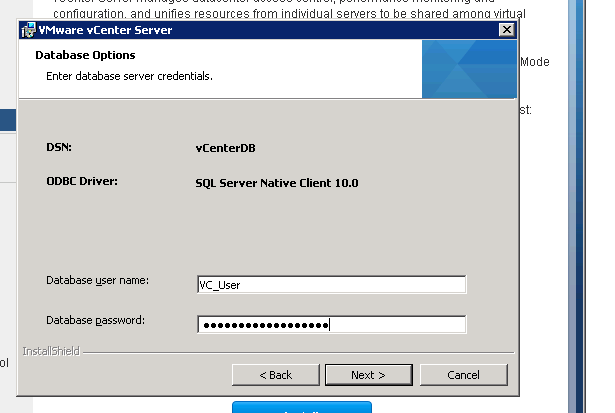
Step 24: Enter the database user login credentials, VC_User
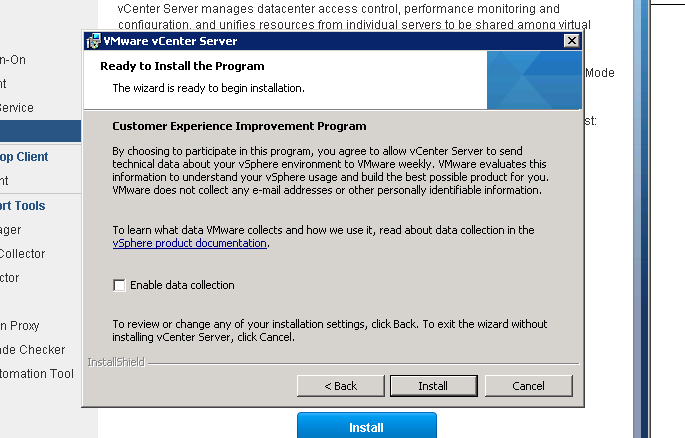
Step 25: Click Install at the Customer Experience Improvement Program
Step 26: Click Finish to complete the installation


